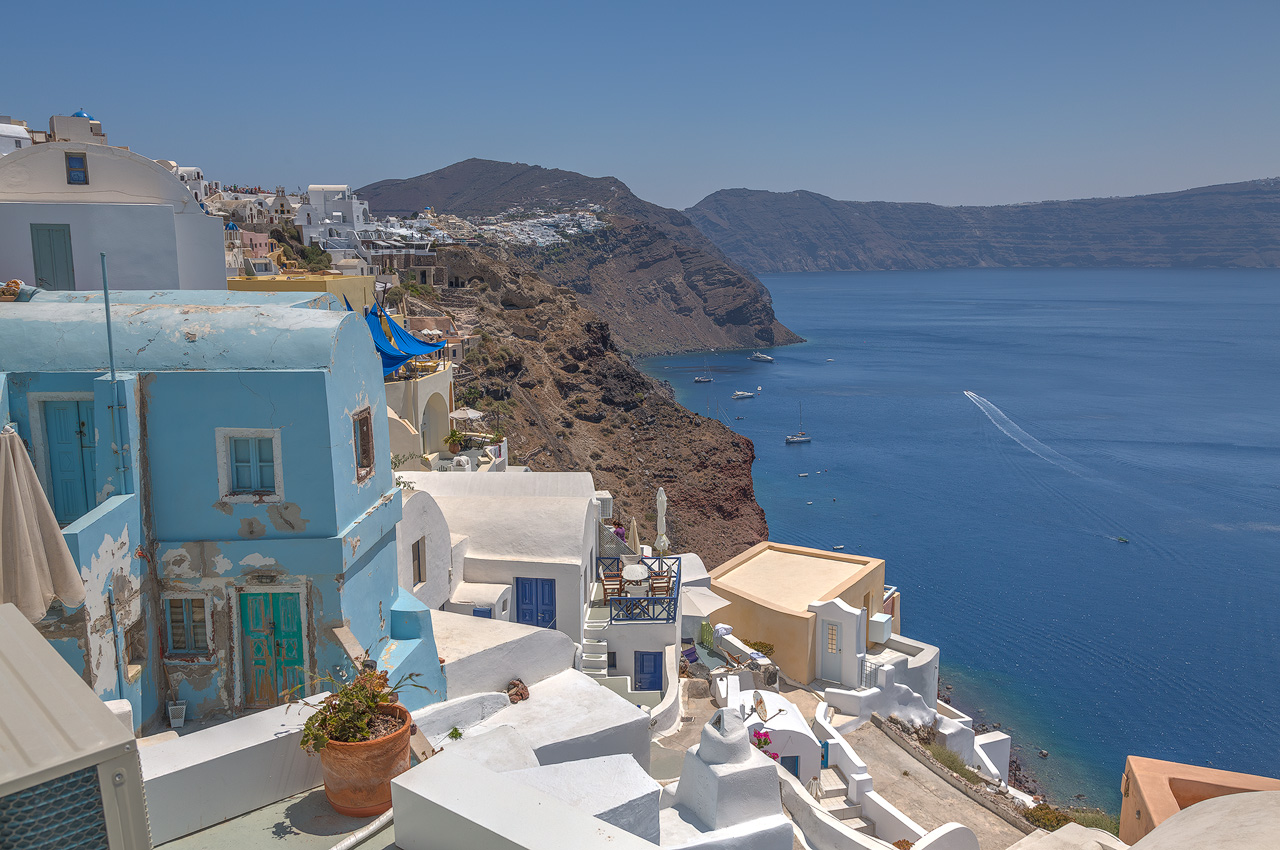
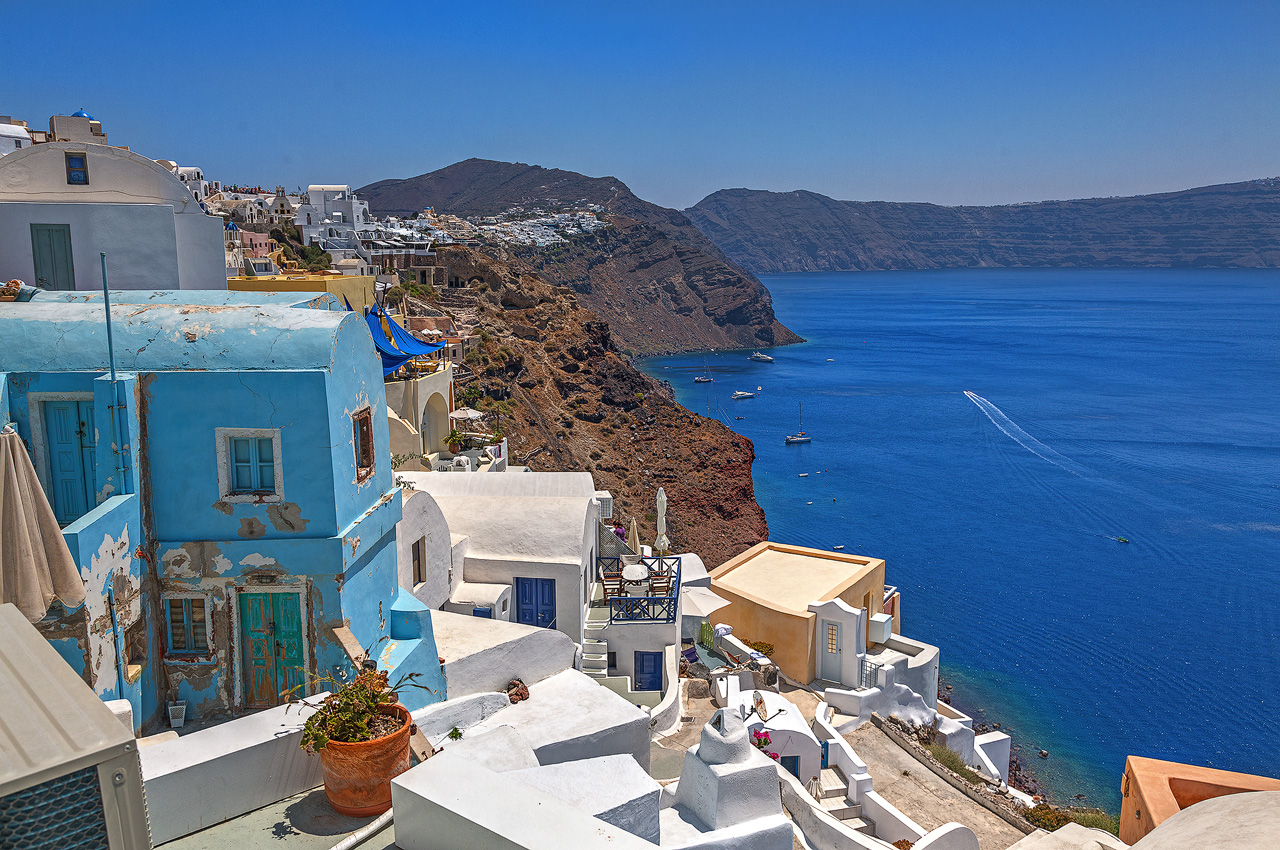
I haven't done a before/after comparison in a while so here is one today. Taken in Oia, one of the most famous towns on island of Santorini it shows the result from Photomatix Pro (before) vs image after some tweaks in Photoshop (after). As you can see I created rather flat and low contrast image in Photomatix. This way it was easier for me to apply final adjustments in Photoshop to get the result I wanted - to show you what I saw when taking this picture.
So yes, I was on Santorini. Just for a day and honestly speaking I wouldn't stand a single day longer there. Don't get me wrong, I really liked the towns of Oia and Thira very much - I found them to be very picturesque and having nice atmosphere but in the middle of summer there were so many tourists that it was impossible to fully enjoy that. It was slightly better in Thira but in Oia where there is only one main public road through town with not that many side roads it was really tough. Everyone was on that very road. Add temperatures around 30 degrees centigrade and almost no wind on that day and you'll get what I experienced.
It was so crowded that it was very difficult to take pictures. Tripod was impossible to use at all but taking handheld wasn't much easier. Everyone wanted to take a snap or sweet photo of themselves with that beautiful view in background. Cool, I don't have anything against that as long as I can take pictures as well. But when I started taking them the crowd noticed that I don't photograph anybody so they thought that I must be crazy or something. So they asked me to stop so they could take their own photos. It was unfair.
Also today I would like to start a new series in which I'll share my post processing details a bit more. This idea was in fact greatly inspired by one of my favorite photograhers - +Miroslav Petrasko from http://blog.hdrshooter.net/.
In the image below you can see what layers I used to create final image. Starting from bottom they are:
- Background layer is output from Photomatix Pro. I applied some small corrections in Lightroom to it eg. to fix levelling of horizon.
- I applied some midtones contrast to add extra boost to the image.
- Then I applied some contrast to the brightest parts of the image - mainly to the houses and sky to make them stand out more.
- Added some contrast to shadows - mainly to water and cliffs.
- Increased blues saturation in the sea, sky and also in the house on the left.
- Increased reds and yellows saturation to add some pop to the cliffs.
- Increased shadows clarity by applying High Pass filter with large radius to them as described in this tutorial.
- Added a bit more of highlights contrast.
- Added a bit more of midtones contrast.
- Added some preeliminary sharpening.
- Added some details to the highlights.

Finally some EXIF and other technical specs:
Technical details:
Camera: Canon 5D MK III
Lens: Canon 24-105 f/4 L IS USM
Focal length: 28 mm
Aperture: f/8.0
Exposure time: 1/400 s ("middle" exposure)
ISO: 100
Number of exposures: 5
E.V. Step: 1
Flash used: no
Tripod: no
Filters: circular polarizing filter
Software: Magic Lantern 2.3, Photomatix Pro 4.2.7, Lightroom 5.0, Photoshop CC


