
So why is this feature missing from Photoshop which is much more powerful than Lightroom in terms of editing photos? In fact, this feature is there in Photoshop. But it's somewhat hidden.
What's more there are a few ways of accessing it. I will describe only one, which is easier and more intuitive.
As you probably noticed, Unsharp Mask, which is commonly used for sharpening, can have very large radius (even 300 or more pixels). However, during sharpening hardly ever anything larger than 4 pixels is used. And even 4 pixel radius is used very rarely. What's more Amount can be set to as low value as 1% even though most commonly values in range 65% - 150% are used during sharpening.

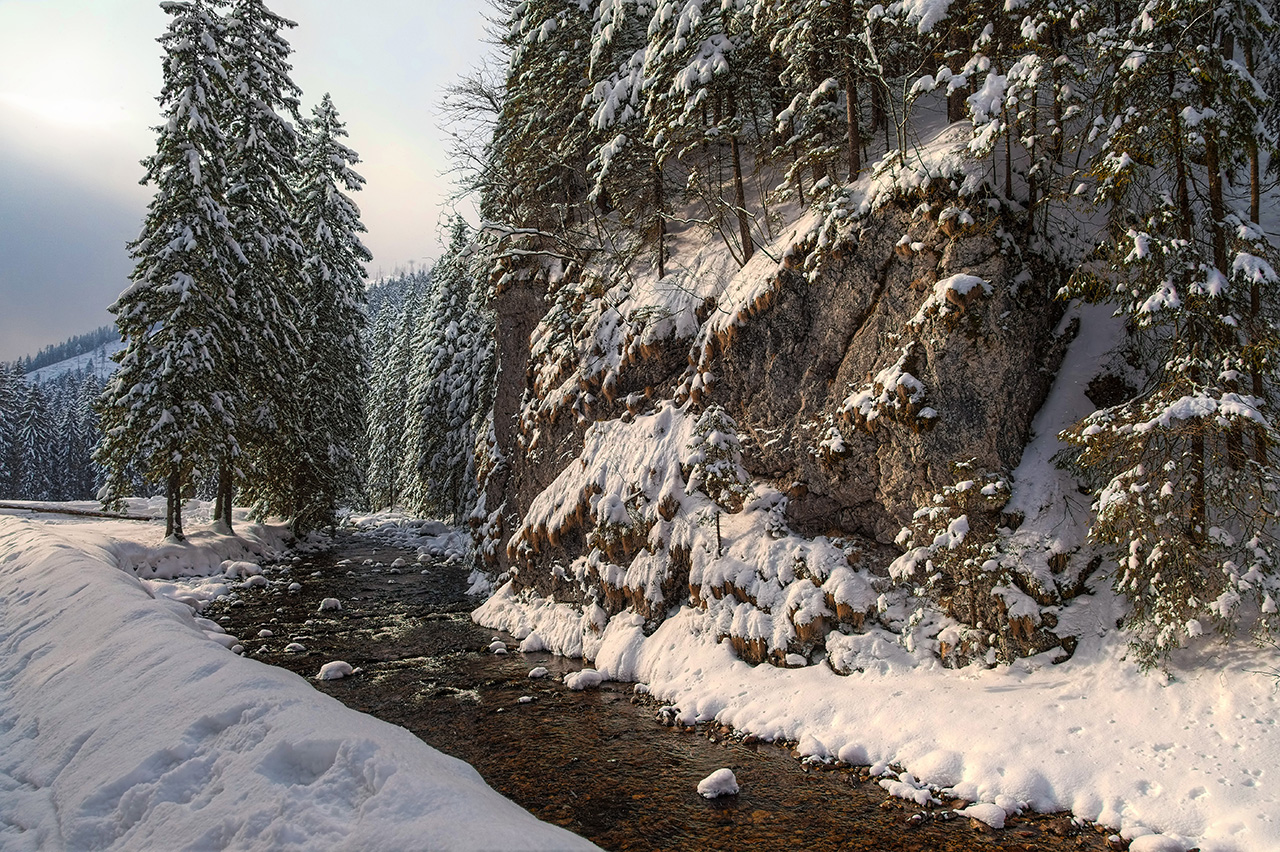
I used exactly this technique to increase clarity of the image posted at the beginning of this post. Before shows the image before applying clarity and After - after doing so. The difference might be subtle but it definitely adds some pop in the trees and snow.


