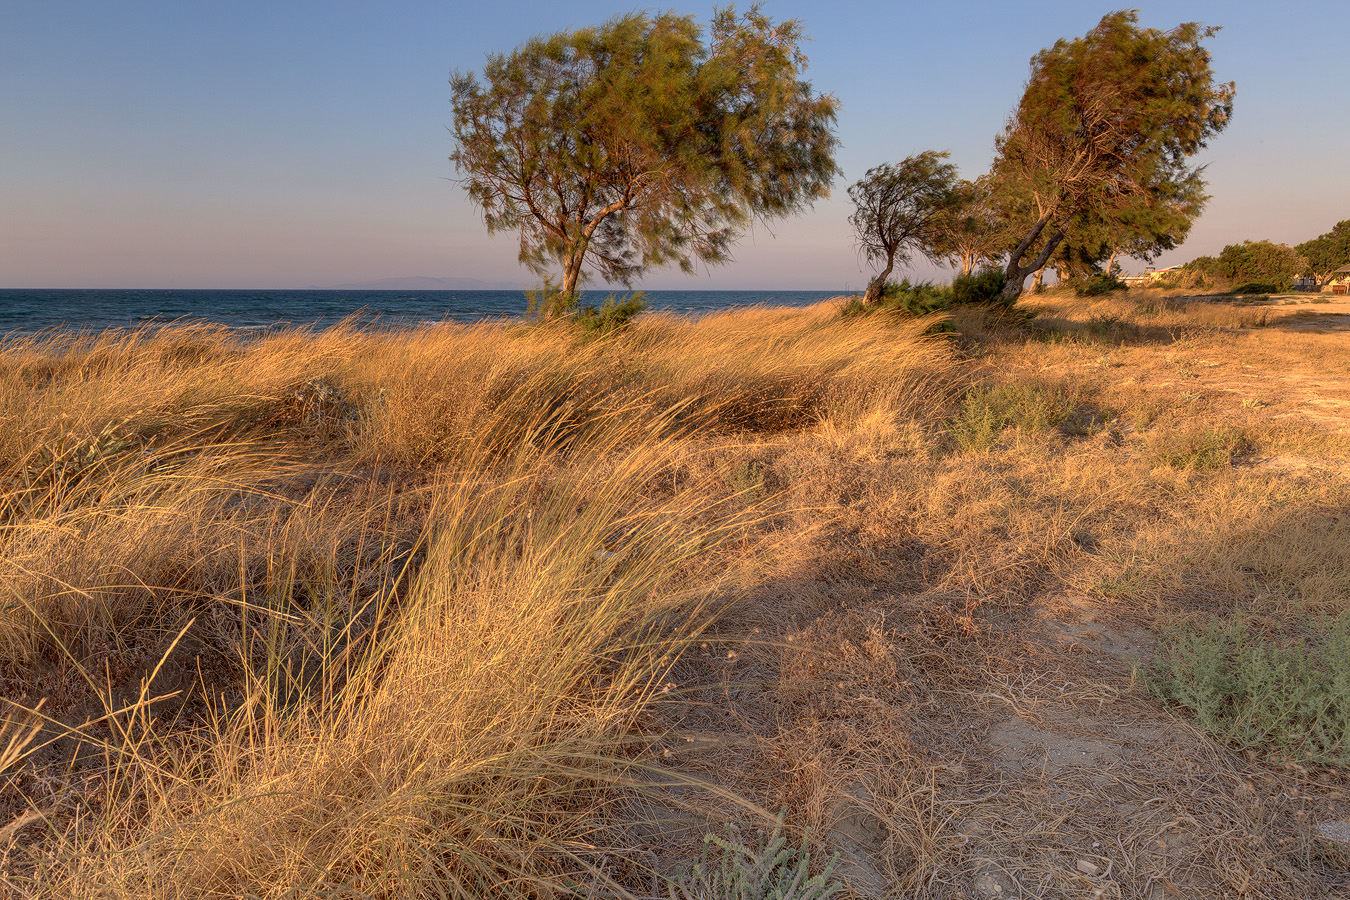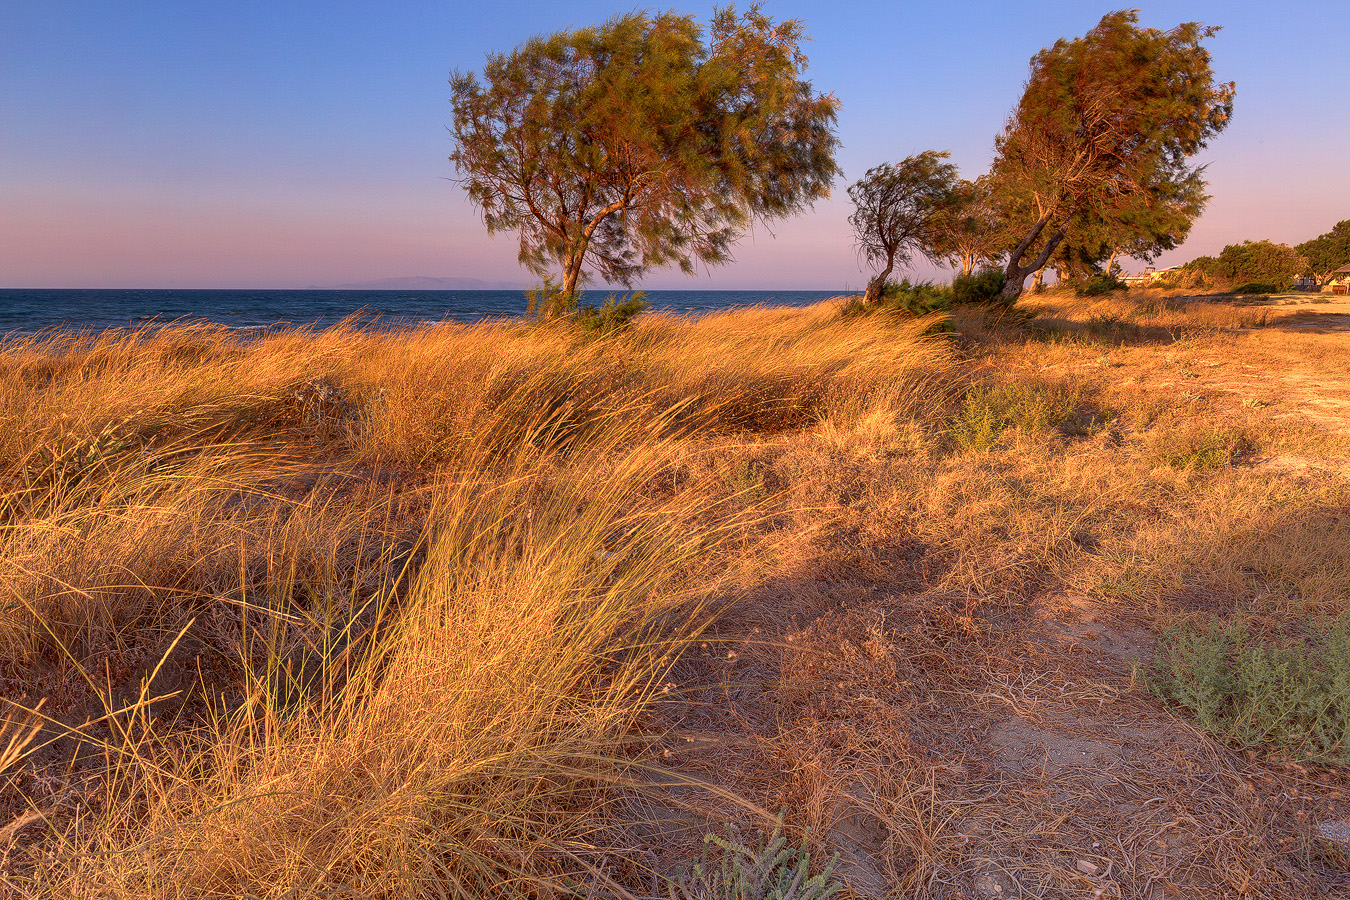

I took 7 exposures at 1 EV spacing, merged them to HDR and tone-mapped in Photomatix Pro (which is Before). Then I edited my image with luminosity masks technique in Photoshop CC (After).
In the image below you can see what layers I used to create final image. Starting from bottom they are:
- Background - image produced by Photomatix Pro.
- Global color balance - I applied some global colour correction to my image but only to midtones (Cyan/Red: +3; Magenta/Green: -5; Yellow/Blue: +5) to make the light look more sunsetty.
- Highlights color balance - I then applied colour balance correction only to brightest parts of the sky and grass (Cyan/Red: 0; Magenta/Green: -18; Yellow/Blue: +10)
- Global contrast - applied some contrast to midtones only using Curves adjustment layer.
- Highlights contrast - added contrast to highlights in sky and grass
- Shadows contrast - added some contrast to darkest parts of the image and slightly brightened them up (I used Screen blending mode to get brightening effect)
- Highlights saturation - added some extra saturation to sky and grass (Master: +37)
- Shadows saturation - added a bit of saturation to darkest parts of the image (Master: +15)
- Sharpening - added some sharpening.
Technical details:
Camera: Canon 5D MK III
Lens: Canon 24 f/1.4 L USM II
Focal length: 10 mm
Aperture: f/18.0
Exposure time: 1/13 s ("middle" exposure)
ISO: 100
Number of exposures: 7
E.V. Step: 1
Flash used: no
Tripod: yes
Filters: no
Technique: HDR, tone-mapping, luminosity masks
Software: Magic Lantern 2.3, Photomatix Pro 4.2.7 (Details Enhancer), Lightroom 5.0, Photoshop CC


