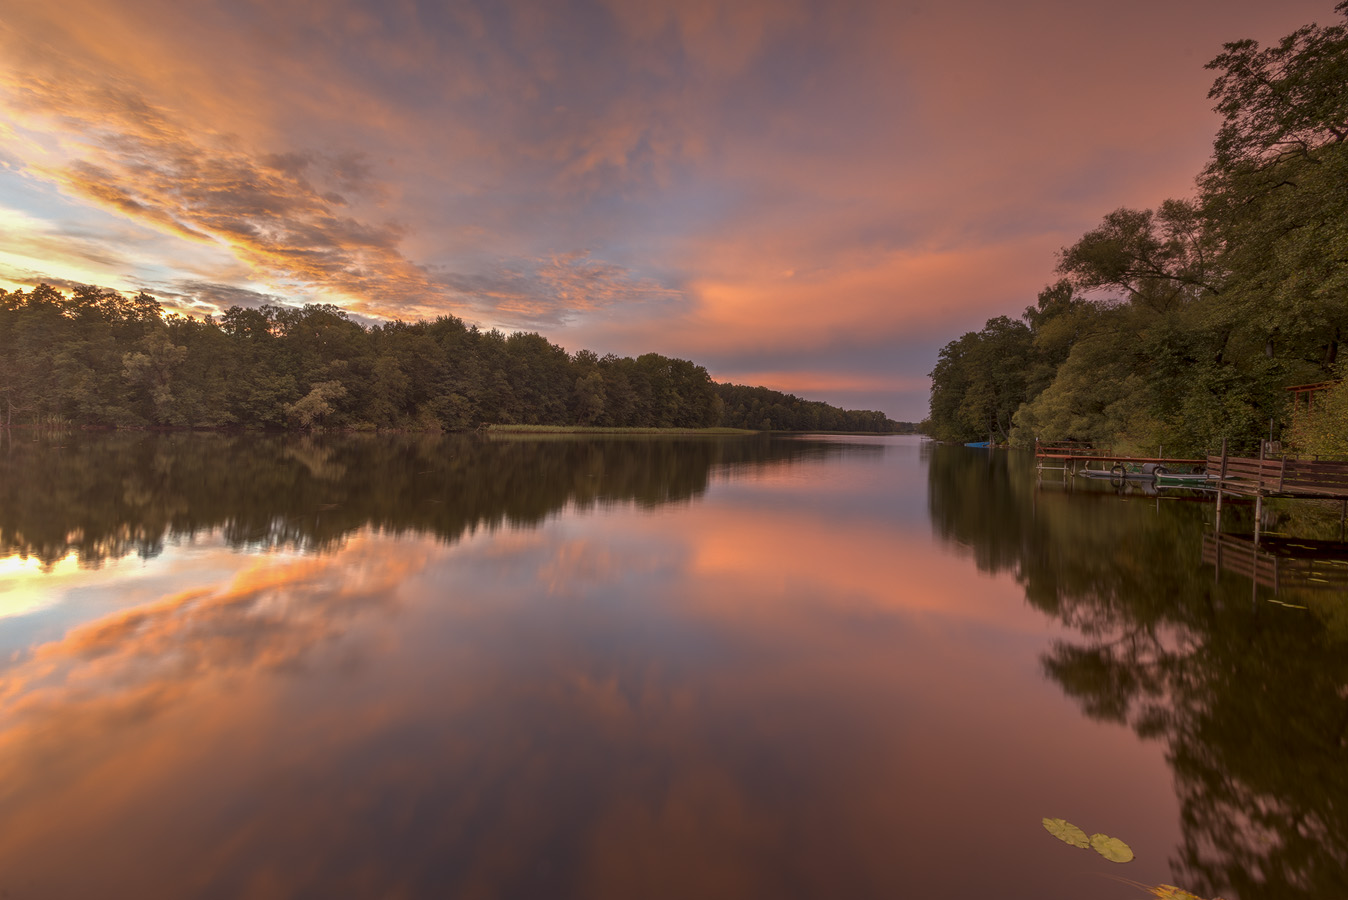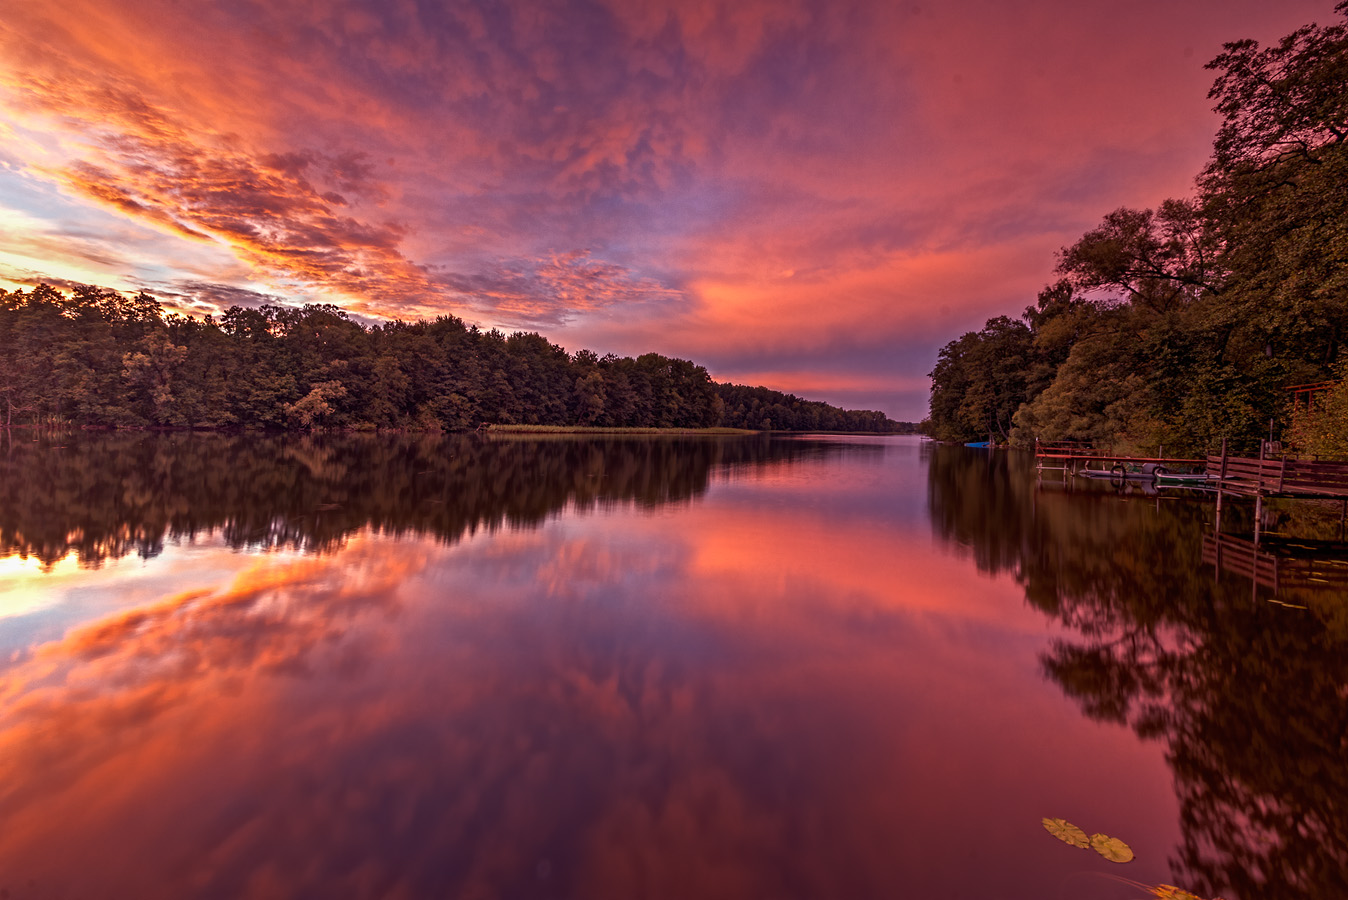

Time for another before/after comparison + some post processing details (for more go here). This time a sunset photographed in Masuria region, Poland.
I took 7 exposures at 1 EV spacing, merged them to HDR and tone-mapped in Photomatix Pro (which is Before). Then I edited my image with luminosity masks technique in Photoshop CC (After).
In the image below you can see what layers I used to create final image. Starting from bottom they are. As you can see I grouped the layers in err... groups. This way the work can be organized much better because I instantly know where certain layer is. In this case it's not a big problem but sometimes I have images with much more layers where this becomes an issue.
- Background - image produced by Photomatix Pro.
- Fixes - various corrections, like denoising, spot removal etc. Basically any adjustments that need to be done in a destructive way. Doing this early in the workflow is essential.
- Global color balance - fixes for white balance
- Shadows color balance - correction of colors in the trees areas to reduce reddish cast a little bit.
- Midtones contrast - I increased midtones contrast using Curves adjustments layer.
- Shadows contrast - added some contrast to darkest parts of the image and slightly brightened them up (I used Screen blending mode to get brightening effect)
- Highlights contrast - added contrast to highlights in sky and grass
- Clouds contrast - added contrast to the clouds by using Curves adjustments layer and using Overlay blending mode with small opacity.
- Shadows clarity - added clarity to the shadows by using this technique.
- Sharpening - added some sharpening using high-pass sharpening technique.
- Clouds detail - added some extra detail to the clouds using Topaz Detail 3 plugin.
Finally some EXIF and other technical specs:
Technical details:
Camera: Canon 50D
Lens: Canon 10-22 f/3.5-4.5 USM
Focal length: 10 mm
Aperture: f/22.0
Exposure time: 2.0 s ("middle" exposure)
ISO: 100
Number of exposures: 7
E.V. Step: 1
Flash used: no
Tripod: yes
Filters: no
Technique: HDR, tone-mapping, luminosity masks
Software: Magic Lantern 2.3, Photomatix Pro 4.2.7 (Details Enhancer), Lightroom 5.0, Photoshop CC


